Since we bought our home,
I'm discovering that much of this
how-to-fix-it-d.i.y stuff
comes mainly by immersion.
For example,
let's say a few weeks ago,
temperatures dropped to the single digits.
And let's just say,
your home hasn't experienced this kind of cold in a while.
And maybe, just maybe,
a pipe broke in your garage and started gushing like
Old Faithful herself
while simulataneously turning your steep driveway
into an ice slide.
What do you do?
First, I got drenched.
And cold. V.E.R.Y. cold.
Then I had to call to get our water turned off.
(Did you know it's illegal here to turn it off yourself?)
Then, we worked away on the pipe.
After getting said pipe fixed (we had to bring in a plumber in the end),
I now know how to turn off the water at my house,
blow dry pipes (learned from our plumber),
and insulate spigots from the frigid cold that is this winter season.
Yay for life skills!

Showing posts with label DIY. Show all posts
Showing posts with label DIY. Show all posts
1.29.2013

8.29.2012
Cuttings

I think I might be a plant hoarder.
Seriously.
I have at least one plant in almost every room of our house,
which I love - greenery soothes my soul,
but I fear that my foliage will only increase in number...
Especially since I discovered the art of cuttings.
Evidently, you can clip off a piece of your succulent plant,
even just a leaf,
and it has potential to grow into a whole other plant.
(Kind of like gremlins, but less dangerous and easier to take care of. )
Just clip off a leaf or portion of a branch
and place it somewhere that you will leave it alone for a bit.
As the cutting dries out, it will slowly begin to develop new roots
which should begin to emerge out the spot you cut the succulent.

Here are some of my leaf cuttings.
It might take a week or two for the roots to appear,
but once they do, you're free to plant the cutting in some soil!
I plan on using some old teacups as mini-planters for my new
baby succulents.
Have you ever done this before?!?
7.04.2012
Guest Bedroom Changes
Having a guest bedroom
is pretty rad,
except for the fact that
we rarely have guests.
Sadly, we end up turning it into
a storage room between company visits...
but not anymore!
After finding out a couple of weeks ago
that some good friends of ours were coming
out and wanting to crash at our place,
we got our butts in gear
and cleared out the room.
Now, it's nothing fancy.
I mean, hey!
We're using an air mattress here -
not even a real bed (sorry folks),
but the changes have made a difference
nonetheless.
And I no longer
have to close the door
in shame,
which is a good thing
in my book!
Here are some pics
of the progression...
After clearing out the room a bit
and adding some curtains:
 |
| Talk about harsh lighting... |
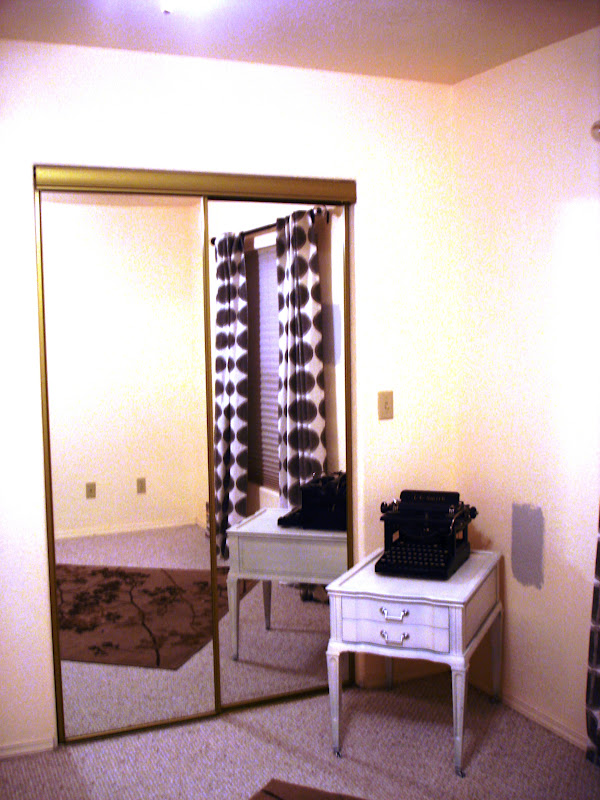

After paint
(Benjamin Moore, "Nimbus")
and some reorganization...

 |
| Hello glorious airbed! |
 |
| The gray walls and white furniture really calm the space. |
 |
| Little gallery wall over the bed... probably will grow and change over time. |
 |
| For perspective. Don't mind the mirror smudges. |
 |
| Mini Secretary Desk in action. |
The wall color has made
the greatest change for this room.
Adding little touches like a
reading lamp
on the nightstand
with some books and magazines
cozied up the room as well.
My goal is to someday
have a real bed in here
(to add to the comfort),
but that's not urgent
by any means.
So there you have it.
Future guests?
I have a room for you.
Plus, I'll make you breakfast.
Just sayin'.
2.02.2012
Master Bath Progress
Hello there!
Thanks to my husband's night shift,
I put another sleepless night to use
by working on our bathroom!
Here's what it looked like before...

It wasn't horrible,
but there were three mismatched towel racks,
flat & semigloss paint on the walls,
and a basic boring mirror.
I decided to remove all the racks,
patch and paint (BM Light Pewter),
and put up hooks,
a new mirror,
and switch out and raise
my shower curtain.
Progress:


Yay for progress!
What's left to do?
- paint the trim and door white (BM Chantilly Lace)
- switch out the light fixtures
- hang more art around my $5 thrift store painting (Think mini gallery wall.)
- Install small glass shelf under mirror?
- Small window treatment (matchstick blinds?)
- Switch bathmat with a patterned runner
I'm still trying to figure out how to
make this bathroom as functional as possible.
We'll see.
For now,
it feels much cleaner
and crisp!
And that is good enough for me :)
12.01.2011
House Updates - Yet Again!
Hello friends!
Sorry for the long absence...
I guess that's what happens
when you host family
and celebrate the holidays :)
In fact, having family visit
motivated me to work on our home!
So here are some updates!
Oh!
I also added a "Mi Casa" Tab
up above
which will give you an up-to-date
tour of our home!
So there's that :)
Now for some pics...

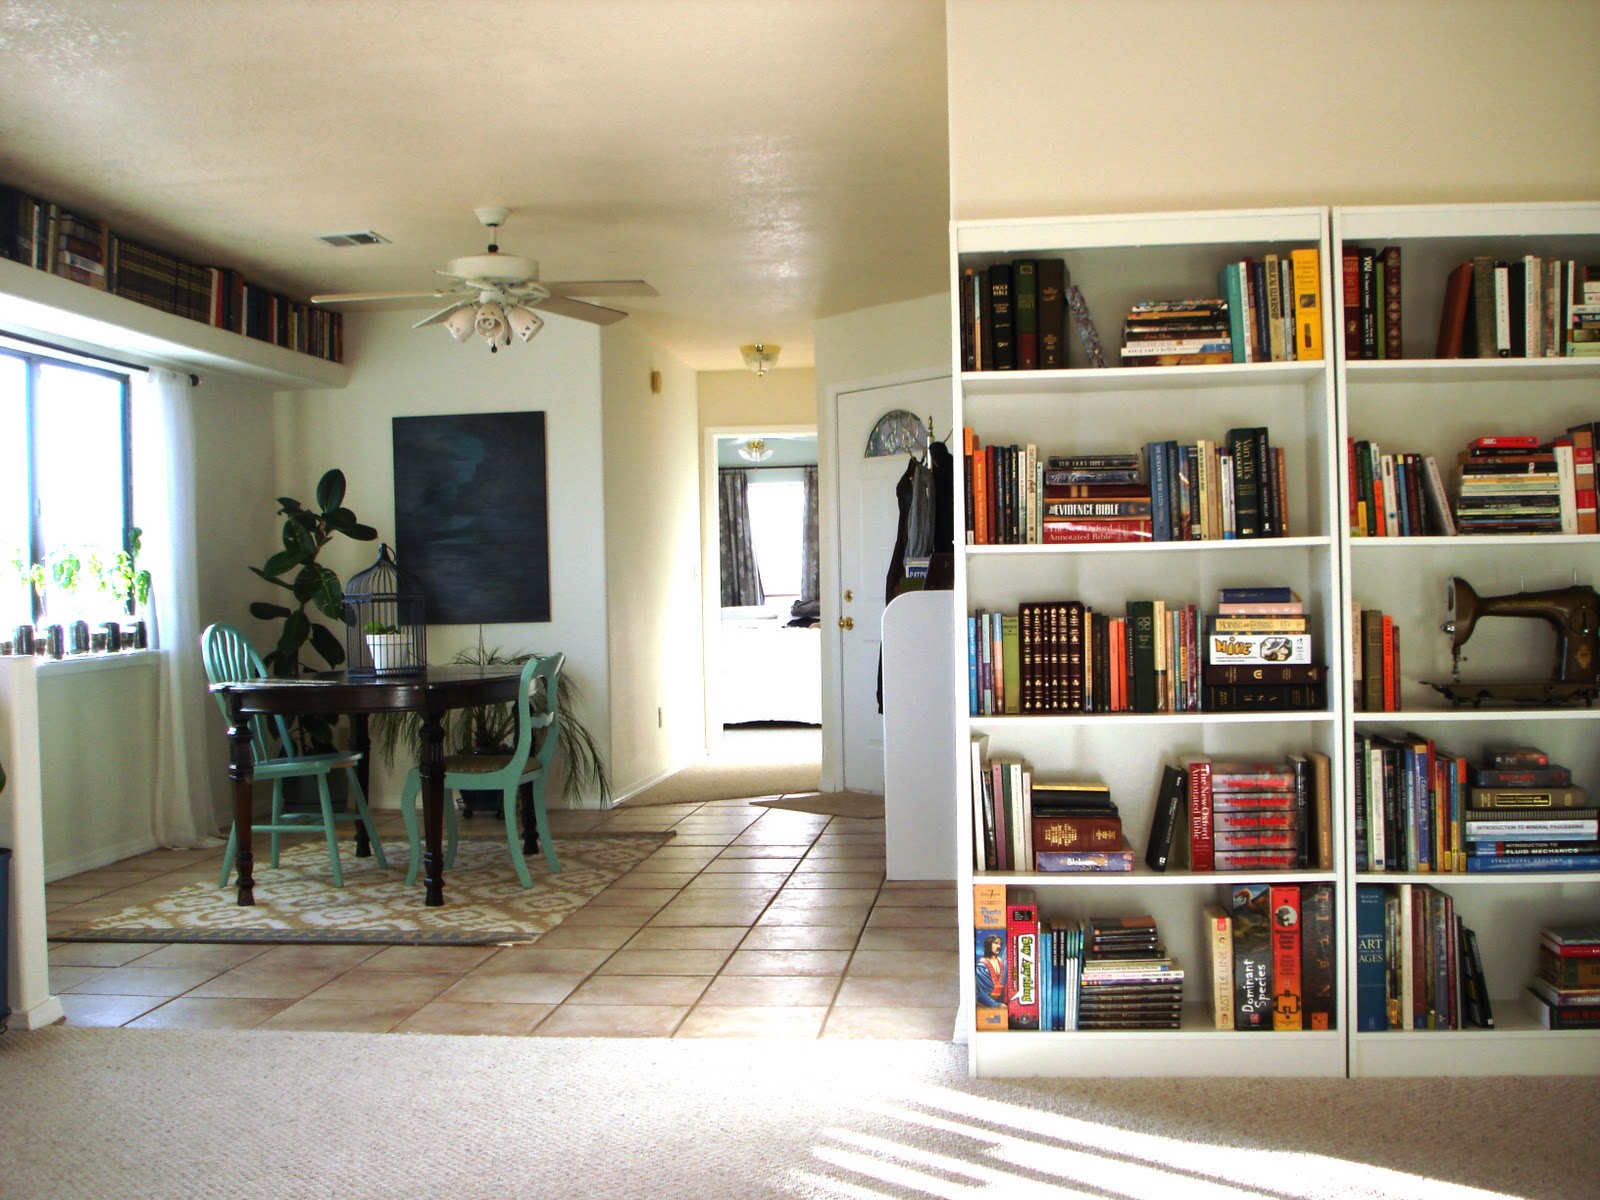
We acquired some bookcases!
- finally -
As you can see,
we have quite a few books
and boardgames...
Three cheers for accessibility!!!

Also, I have recently acquired
a little typewriter collection (!)
which I decided to disperse
throughout our home.


We hung up my seascape in the dining room
to bring a touch of deep teal to the space :)

And I finally finished my
over the fireplace!

I also acquired a sweet brass coat rack
for our front entryway
and repainted a little bookcase
to store our shoes, mail, keys and such!

And last but not least,
I finally dressed up our kitchen cabinets
with some oil-rubbed bronze hardware!
(I found the knobs & pulls for cheap on Ebay!)

So, there you go!
I have yet to decorate for Christmas,
but I'm excited to say the least.
Here's to hoping
your Thanksgiving was
SCRUMTRILESCENT.
xoxo
- Jess
11.11.2011
Kitchen Update!
My kitchen cabinets are finally
getting the love they deserve...
Some fresh paint!!!
After putting off painting the lower cabinets
for months,
I can now say
all my kitchen cabinets
are white!
I reinstalled them today
and will soon be dressing them up
with some new hardware!
Here's a little before and after...
Before:

After:

Before:

After:

Still on my list of things to do:
1. Paint the cabinet base boards
2. Paint our kitchen door
3. Install new hardware
And down the road:
1. New countertops
2. New Wood Laminate Flooring
3. Tile backsplash
4. A window treatment of sorts?
Anywho, that's what I've been up to!
Happy Veterans Day, everyone!!!
11.09.2011
Projects Galore!
Hiya, Folks!
I guess I've been pretty busy over here
these last few weeks...
painting our hallway, office,
and even some canvas!
But I've decided it's time to tackle a project
I've left unfinished for months:
My kitchen cabinets.
 |
| What they looked like when we moved in |
I painted the top cabinets white
but have yet to paint the lower ones
and replace all the hardware...
Here's where it's at right now...
Notice the dishes and rice cooker?
Yeah. Keeping it real.
I plan on cleaning and priming them today
and painting them tomorrow.
I also ordered some neat oil rubbed bronze hardware
to replace the spray painted
ceramic knobs I'm using now...
My current knobs are not holding up super well,
and a lot of them are chipped and cracked
from a few decades of use.
I'll keep the updates coming!
9.21.2011
Home Updates, Homies.
Guten Tag!!!
Here are some more
home updateywoos for ya.
We bought a rug a while back
from West Elm...
and it finally showed up!
I wanted something to ground our dining set
and add a bit more color to the area...
So here's where it ended up!
Before:

After!


I love the pattern and burnt yellow...
This room is still pretty bare,
but I have ideas for some art pieces (eventually)
and perhaps a little console against that bare wall.
All in due time, I guess. :)
Also, one seriously neglected part of our home
is the wide hallway
between our living room
and office/ guest bathroom/ guest bedroom.


It needs some love, to say the least.
I have yet to paint the hallway, trim, and doors...
But I'm thinking of doing something ca-ca-crazy.
Insert Inspiration:
 |
| Via |
 |
| Via |
So, I obviously have an obsession with deep teal...
But I think it would be rocking in the wide hallway.
Plus, it gets some natural light from all the rooms around it.
I'm thinking:
teal walls + white doors and trim + art + new light fixture!
Since I don't have the paint to embark on such an endeavor,
I decided to frame and hang some art.
Here's how it turned out...
Progress!


I found all the frames a week ago
for 25 cents a piece,
spray painted some of them,
and framed a few of my original pieces
(as well as a stamp collection I have
from Argentina.)
Mini Update Cost?
Frames: $1.50 total
Art Pieces: $0 (Made them myself, stamps were a gift)
Spray Paint: $0 (Already owned)
Nails/Hardware: $0 (Already Owned)
TOTAL: $1.50
(not too shabby)
All in all, I like how it adds interest
to a previously neglected area,
but MAN! Does it makes me want to paint!
Have you done any random small changes lately?
Or how do you feel about the teal?
Yay or Nay?
Happy Wednesday!
And thanks for stopping by :)
7.31.2011
twiggy transition
Helloooo!
Remember this jewelry holder
I made a while back?


Well,
this New Mexico monsoon season
has done quite the number on it.
How, you ask?
Thanks to the humidity,
the branch became all fun and flexible...

Let's just say
it became a sad excuse
for a jewelry holder.
So, I used an old picture frame I had,
(the gold one in the photo below)

And turned it into this:

All I did was:
1. Remove the glass, cardboard, and print from the frame
2. Hammer in a bunch of nails to the top edge
3. Spray paint the whole shebang
4. Hang it and put on the jewelry!

Easy Peasy.
And
MEGA cheap.
It's way more sturdy
than my poor little twig creation,
AND
I love that it literally frames
my necklaces.
Once we paint our bedroom walls,
I'm sure the frame will stand out even more,
which to me, is a good thing :)
So there you go!
And easy jewelry holder
you can make in 30 minutes or less!
Subscribe to:
Posts (Atom)